
Pick the right trusted traveler program
Choosing the correct DHS program depends on where you spend most of your time and how you travel. Each program offers different benefits, costs, and eligibility requirements. Use the table below to compare Global Entry, TSA PreCheck, NEXUS, and SENTRI side-by-side.

| Program | Cost | Best For | Coverage |
|---|---|---|---|
| Global Entry | $100 | International travelers | U.S. entry + TSA PreCheck |
| TSA PreCheck | $78 | Domestic flyers | U.S. security lanes |
| NEXUS | $50 | U.S.-Canada travelers | Both countries + PreCheck |
| SENTRI | $122 | U.S.-Mexico travelers | U.S. entry + PreCheck |
Global Entry is generally the best value for frequent international travelers because it includes TSA PreCheck benefits for domestic legs. NEXUS is the most cost-effective option if you regularly cross the U.S.-Canada border. SENTRI is specialized for those who commute or travel frequently across the U.S.-Mexico land border. TSA PreCheck alone is only worth it if you fly domestically and never leave the country.
Check the official Trusted Traveler Programs website for the most current fees and application steps. Visit ttp.dhs.gov to start your application.
Create your DHS login and start application
You need a single account to manage all Trusted Traveler Programs. The system uses Login.gov for identity verification, which is more secure than a standard username and password. This account lets you apply for Global Entry, NEXUS, SENTRI, and other programs without creating new profiles.
Step 1: Register with Login.gov
Go to the official Trusted Traveler Programs portal. Click the button to sign in or create an account. You will be redirected to Login.gov to verify your identity.
You must provide a valid email address and phone number. Login.gov will send a verification code to confirm you own both. You can use an authenticator app or receive a text message to complete this step. Once verified, you will create a strong password and set up security questions.
Step 2: Fill out the application
After logging in, select "Apply for a Program" and choose Global Entry. The form asks for personal details, passport information, employment history, and travel addresses. Be precise with your passport numbers and expiration dates. Inaccuracies often cause delays or require manual reviews.
You must also list any criminal history, even if expunged or sealed. The system checks against federal databases. If you have a minor citation from years ago, disclose it fully. Omissions are treated more severely than the underlying offense.
Step 3: Pay the fee and submit
The application fee is $100. This covers the background check and interview processing. The fee is non-refundable, even if your application is denied or you withdraw before the interview. You can pay with most major credit cards directly through the secure portal.
Once submitted, you will receive a conditional approval email. This usually takes a few weeks, but can take up to six months. You will then need to schedule an interview at a Global Entry enrollment center.
Schedule your enrollment appointment
Once your Global Trusted Traveler application is approved, you must complete the final in-person interview to activate your status. This step is mandatory for all programs, including NEXUS, SENTRI, and Global Entry. You cannot travel with trusted traveler benefits until an authorized officer has verified your identity and fingerprints.
You will schedule this appointment through the Trusted Traveler Programs (TTP) online portal. Log in to your account and navigate to the "Appointments" section. If your application status shows as "Approved," the system will allow you to book a time at a designated enrollment center. You can select your preferred center based on proximity or travel convenience, though wait times vary significantly by location.
Navigate to the Trusted Traveler Programs website and sign in with your Known Traveler Number (KTN) or username. Ensure your application status displays as "Approved" before attempting to book. If the option is grayed out, your application may still be under review.
Choose a center that balances travel cost with availability. Major airports often have longer wait times. Look for slots marked as "Available" or "Waitlist." You can typically book up to six months in advance for some centers, so check frequently if your preferred date is full.
Review the date, time, and location carefully. You will receive a confirmation email with instructions. Print this confirmation or save it to your phone. You must bring your original documents (passport, driver's license, proof of citizenship) to the interview.
Enrollment on Arrival
If you are already a conditional member of a trusted traveler program, you may not need to schedule a formal appointment. This option, known as Enrollment on Arrival, allows you to complete your interview at specific international airports upon returning to the United States. This is particularly useful for NEXUS and SENTRI members who travel frequently to Canada or Mexico.
To use this option, look for the dedicated Enrollment on Arrival kiosks or counters at participating airports. These are typically located in the customs and border protection area after you land. An officer will verify your identity and collect your fingerprints on the spot. This saves you the hassle of traveling to a separate enrollment center just for the final interview.
Not all airports offer Enrollment on Arrival. Check the official TTP website for the current list of participating locations. If your home airport does not support this service, you must schedule a traditional appointment at a nearby enrollment center. Always carry your conditional membership card and original documents when using this service.
Prepare for the interview and approval
The interview is the final hurdle for Global Trusted Traveler status. It is usually brief, lasting only a few minutes, but it determines whether your application moves forward. Treat it as a routine verification rather than an interrogation. Your goal is to confirm that the information in your application remains accurate and that you have no disqualifying issues.
What to bring to the interview
Bring original, valid documents. Do not bring photocopies or digital screenshots. You will need your passport and any other documents required for your specific program, such as a driver’s license or proof of residency. If you are applying for Global Entry, CBP officers may also ask for evidence of your travel history or employment. Having these originals ready prevents delays and shows you are prepared.
Tip: Bring original documents, not copies. Be honest and concise during the interview.
How to behave during the interview
Arrive at least 15 minutes before your scheduled time. Dress neatly; while there is no formal dress code, looking professional helps set a positive tone. When you meet the officer, be polite, direct, and honest. Answer questions clearly without volunteering extra information. If you are unsure about a question, ask for clarification rather than guessing. The officer is looking for consistency between your application and your verbal responses.
Review every field in your online application before you go. Ensure your address, employment history, and travel dates are current. If anything has changed, update it online before the interview to avoid discrepancies.
Collect your passport, visa (if applicable), and any other required IDs. Keep them in a single folder so you can present them quickly when asked. Do not rely on digital copies stored on your phone.
Arrive early, dress neatly, and answer questions honestly and concisely. Maintain a polite demeanor throughout the process. The officer is verifying your identity and eligibility, so clarity and consistency are your best tools for approval.
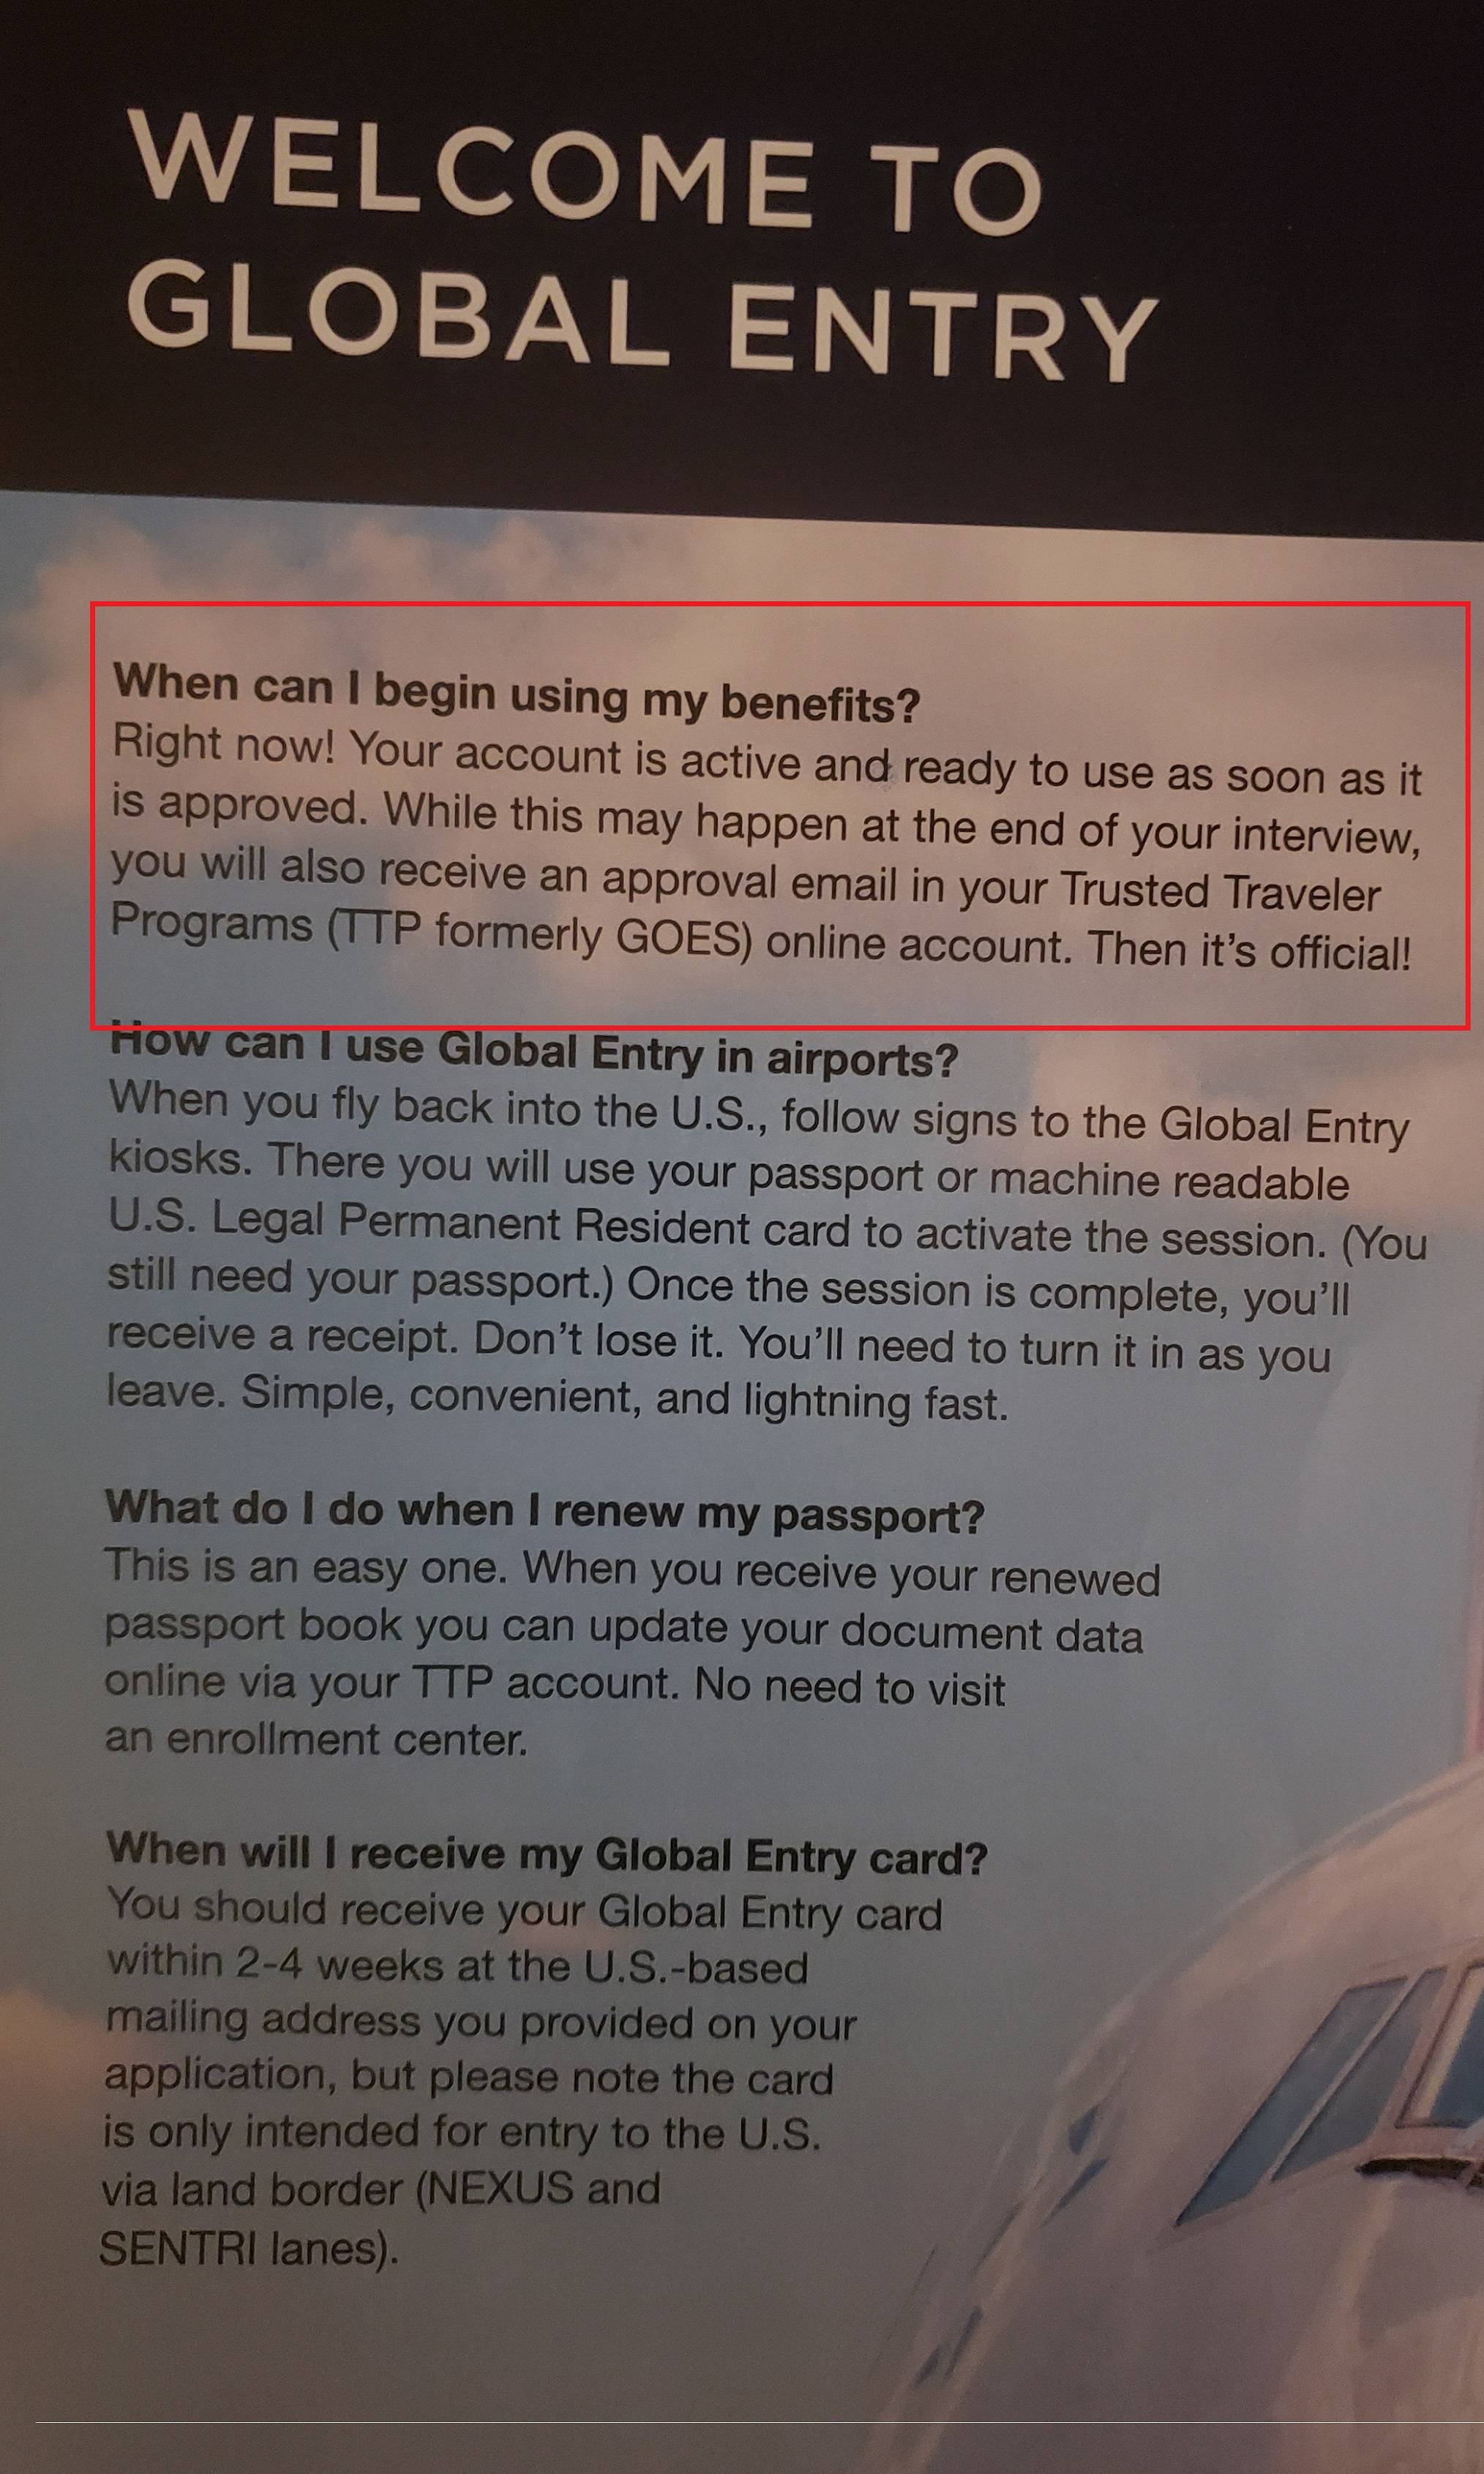
Use your Global Entry card and KIOSK
Once your application is approved, the real time savings happen at the airport. You don’t need to stand in the regular passport control line. Instead, look for the Global Entry kiosks, usually located in the customs hall after you land in the US.
The process is quick and mostly automated. Here is exactly how to use your card and the kiosk to get through customs.
Walk up to the kiosk and scan the barcode on the front of your Global Entry card. The machine will read your identity and pull up your profile.
The screen will show your home address and other personal info. Verify that everything is correct. If you’ve changed your address recently, update it here before proceeding.
Place your fingers on the fingerprint scanner. The kiosk will ask you to look at the camera for a facial recognition check. This step confirms you are the cardholder.
Answer the customs declaration questions on the touchscreen. You can select “No items to declare” if you bought nothing, or list specific goods like food, alcohol, or gifts.
The kiosk will print a receipt. Show this paper to a CBP officer at the next window. They will stamp your passport and you are free to go.
If you don’t see a kiosk, or if it’s malfunctioning, you can still use your card. Present your Global Entry card to the CBP officer at the standard inspection window. They will manually verify your status and process your entry. This is a useful backup if you are traveling with a group or if the kiosks are crowded.
Common application mistakes to avoid
Even small errors can delay your Trusted Traveler approval or trigger a manual review. The most frequent issues involve incomplete addresses, incorrect travel history, and mismatched identity details. Double-check every field against your passport and government ID before submitting.
List every residence for the past five years, including dates and full street addresses. Missing an apartment number or using a former nickname can cause delays. Ensure the format matches your official documents.
Include all international trips, even short visits. Omitting a recent trip or listing incorrect dates raises red flags. Cross-reference with your passport stamps to ensure accuracy.
Ensure your name, date of birth, and passport number match exactly. Typos in middle names or suffixes can lead to denial. Use the same spelling as your primary travel document.
Incomplete applications are the leading cause of avoidable delays. Take your time to review each section against official sources like Login.gov before final submission.
Frequently asked questions about Global Entry
How much does Global Entry cost? The application fee is $100 for a five-year membership. The fee is non-refundable, even if your application is denied. Some premium credit cards offer statement credits to cover this cost, effectively making the program free for cardholders.
Can I include family members in my application? No. Each traveler, including children, must submit their own separate application and pay the fee. However, once approved, your children under 18 can accompany you through the Global Entry kiosks without their own approval, provided they are with you. They still need their own Trusted Traveler number to link to their passport.
How long does the approval process take? Processing times vary by enrollment center and applicant volume. While many applicants receive conditional approval within a few weeks, some wait several months. You can check your status online using your Known Traveler Number (KTN). Once conditionally approved, you must schedule an in-person interview to finalize your status.
No comments yet. Be the first to share your thoughts!